Building DIY Ladder Shelves

So I built some shelving out of a ladder last week, and figured I’d post some pictures, as well as a simplified tutorial. The process was pretty simple, and only took a few hours to build. It also cost me a whopping $2.50 for the whole thing, since I found two old ladders on Craigslist for 5 bucks.
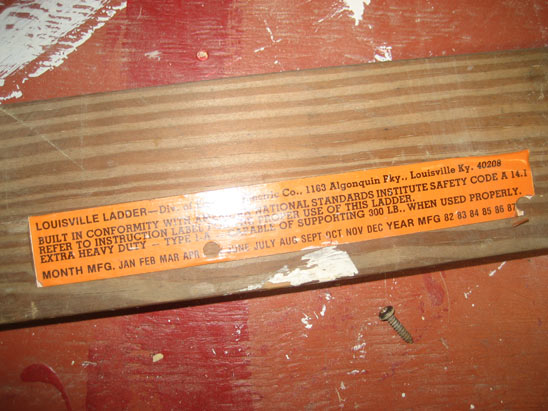
The ladders were from Lousville Ladder Company, circa 1988. That officially makes this shelving only a few years younger than me 🙂
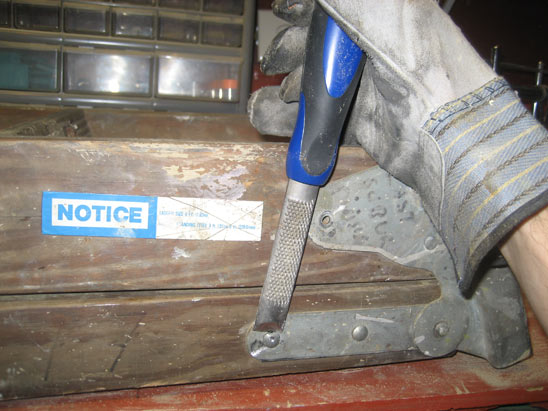
After cleaning the ladder, I took off the top rung, as well as the metal attachment on the side holding the ladder together. This was done by chiseling off the heads of the rivets. I just did this with a chisel and hammer, and made sure to wear thick gloves, because I like to miss and hit my hand from time to time.

Next, I measured the width of the shelves, and cut some old weather worn boards into the correct shelving length. I made sure to use some thicker boards, to the middles wouldn’t bow.
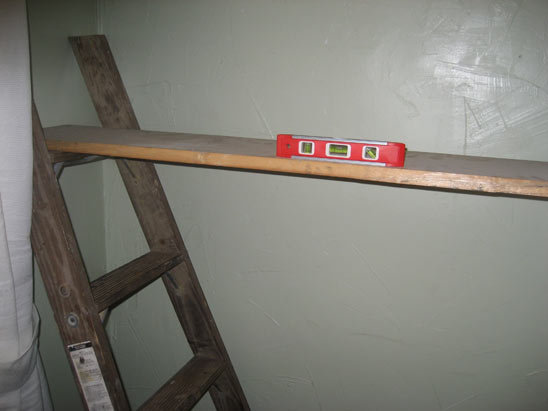
Then, I put my lader into my inset upside down, and laid in the boards, getting them all level. This took a good bit of shimmying on each end of the ladder, as the rungs on each side were not the same height to begin with. Once I got them level, I marked the spots on the wood, and gave each a dot of wood glue, just to keep them from sliding. Not too much though, as I would like to have the freedom to move this shelving later.
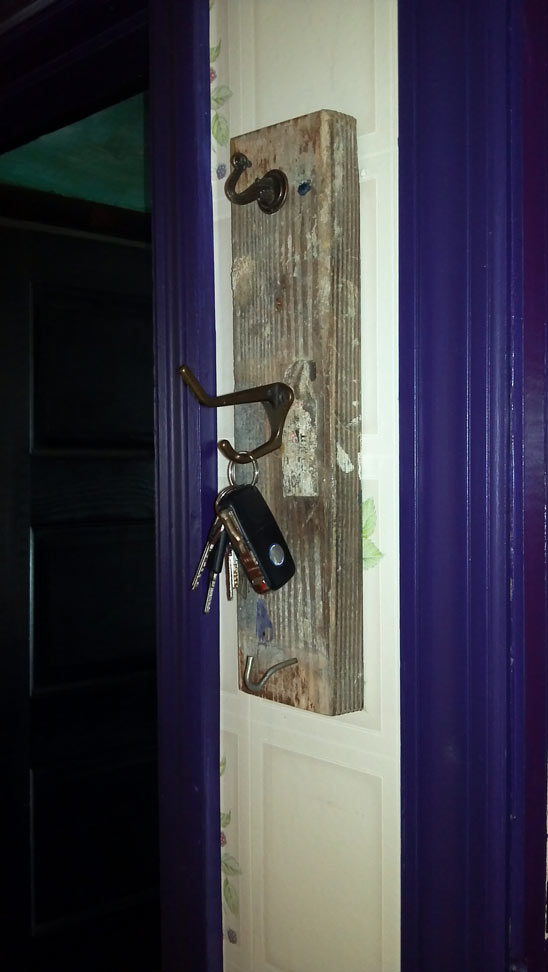
That’s just about it. I decorated the shelves up with some plants and the like, and ended up with some pretty cool shelving. Finally, as a bonus, I took the top rung that I had removed, and made it into a key hanger with some random hooks I had in my workroom. Now I just need to use the metal fasteners from the middle of the ladder for something, and I’ll have used every part of the ladder!
Comment (1)
Leave a Reply